How to Fit Wainscoting On Any Length Wall
If you’ve ever wondered how to fit Wainscoting on an odd-length wall, you’re not alone. When we recently added Wainscoting to our kitchen’s dining area, our wall was not the right length to accommodate 4-foot wide sheets with 3 panels per sheet, which created a measuring challenge. Additionally, the wall we were working with had a window, so we needed to consider that as well.
The Benefits of Wainscoting a Wall
Still, the benefits of adding wainscoting to the wall outweighed the installation challenges. Our kitchen previously had a wall dividing the dining area, but was now removed. So, we needed a way to define the space as an eating area. Other benefits of adding a Wainscoting wall include:
- Covers up an old or damaged wall
- Wainscoting dresses up a plain wall
- Adding esthetics to a wall to make it a focal point
- Adding finishing details adds value to your home.
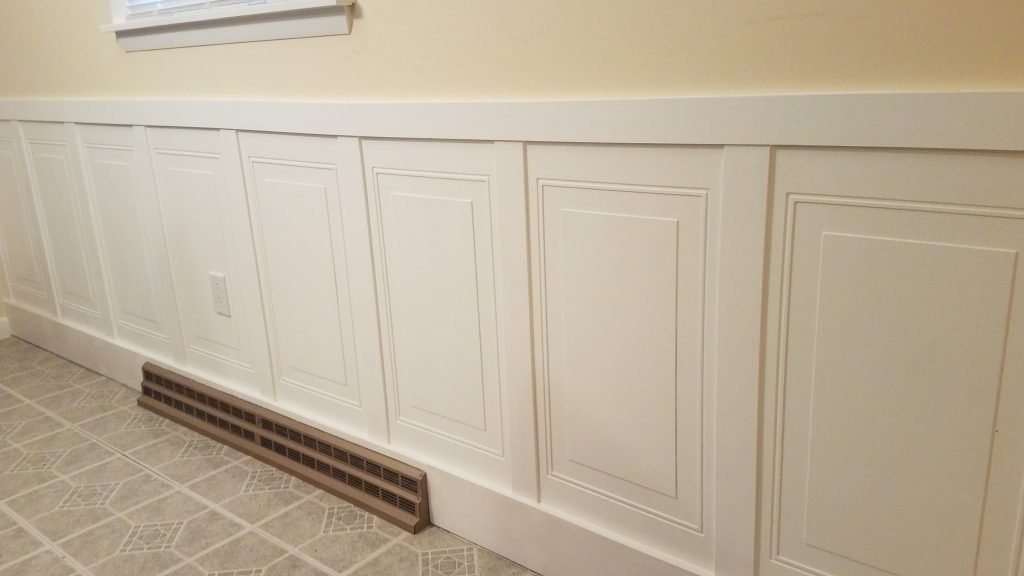
How to Fit Wainscoting on any Size Wall
I won’t kid you, I had so many questions on how to install Wainscoting. When we first came up with this idea to fit Wainscoting onto our odd-length wall I was a bit nervous. But I am fortunate enough to have a handy hubby who figured it out.
If you’ve ever shopped for Wainscoting you probably know that the 4-feet sheets are made for a faster installation. And if we weren’t so fussy we probably could have used the sheets as-is and cut off the extra length in the corners of the wall. But we wanted symmetry. We also didn’t want it to look like a hack job.
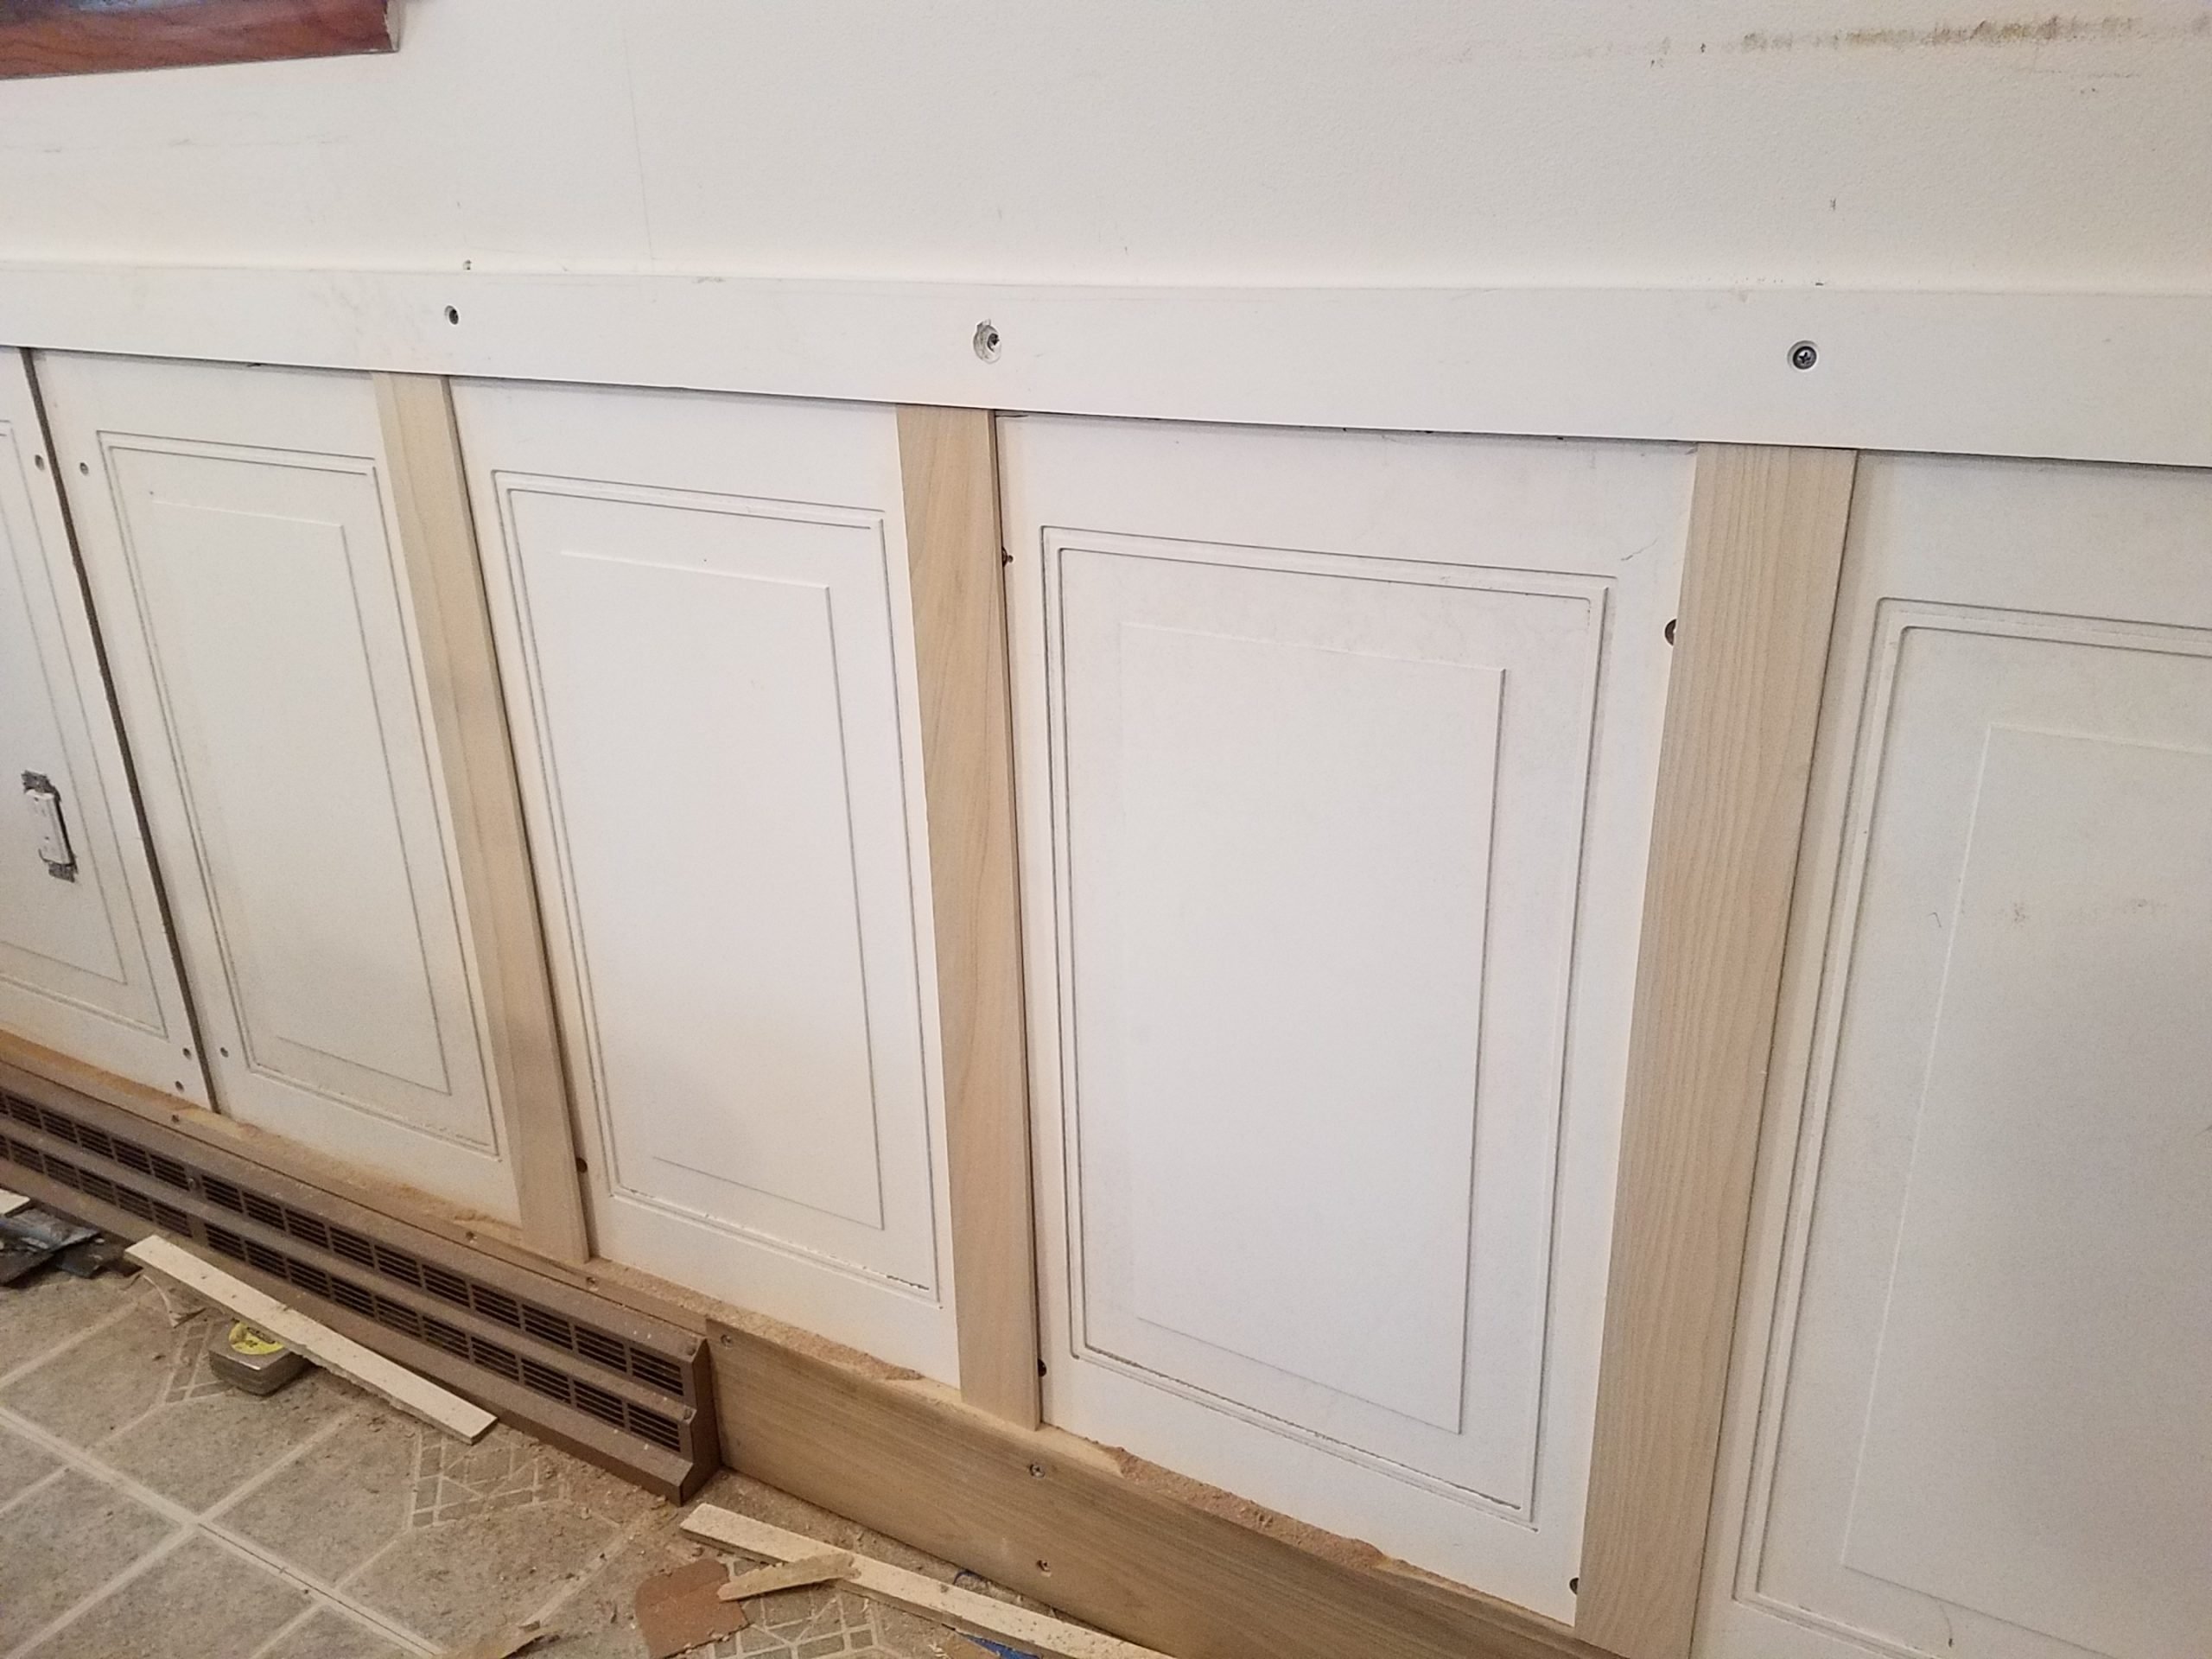
Our problem was that we could not fit an even number of panels on our wall. Using the full sheets that number fell short of 8 panels. So, to get our installation started, we measured our wall and penciled out how many panels we could fit, once they were cut and spread out evenly. By cutting each panel apart from the 4-foot sheet, we could space them out across the wall and use vertical molding to fill in the gaps.
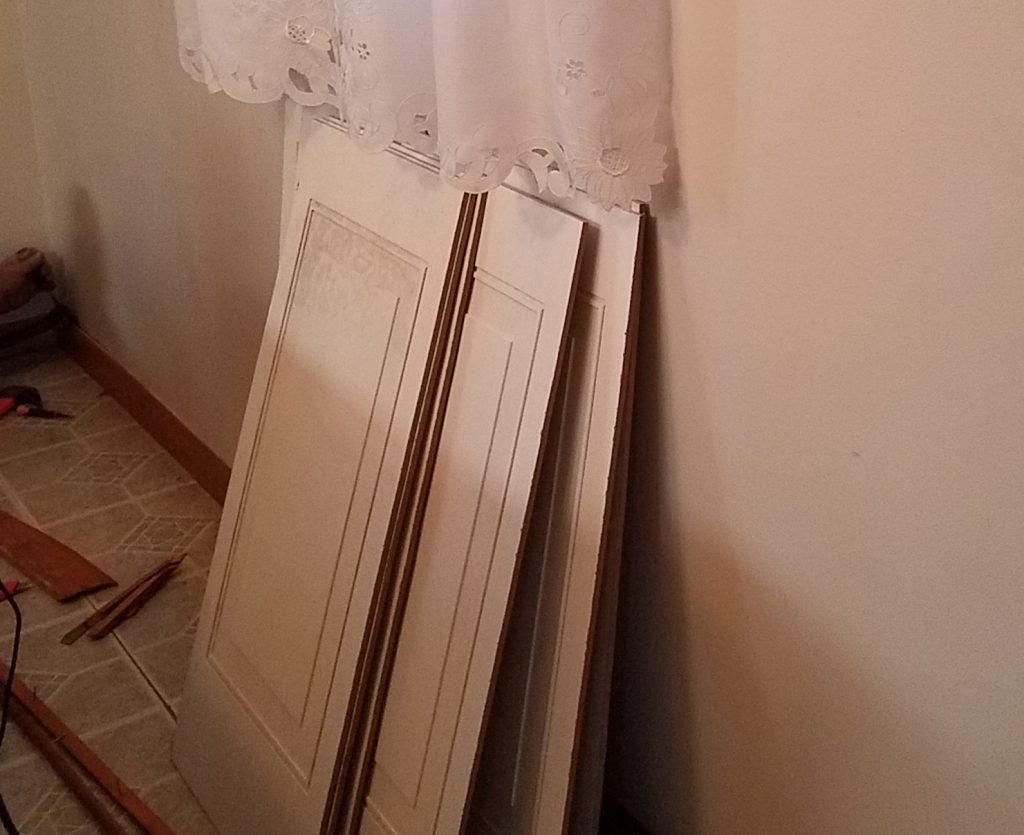
This allowed us to have a full panel at every space across the wall, without ending up with any being more narrow than the others. Of course, this installation is a bit more time-consuming, but the result looks professional. The photo below shows the Wainscoting single-cut panels evenly spaced out. Oh and yes, that’s a footprint on one of them, LOL.
Peel-n-stick wallpapers to compliment your Wainscoting wall
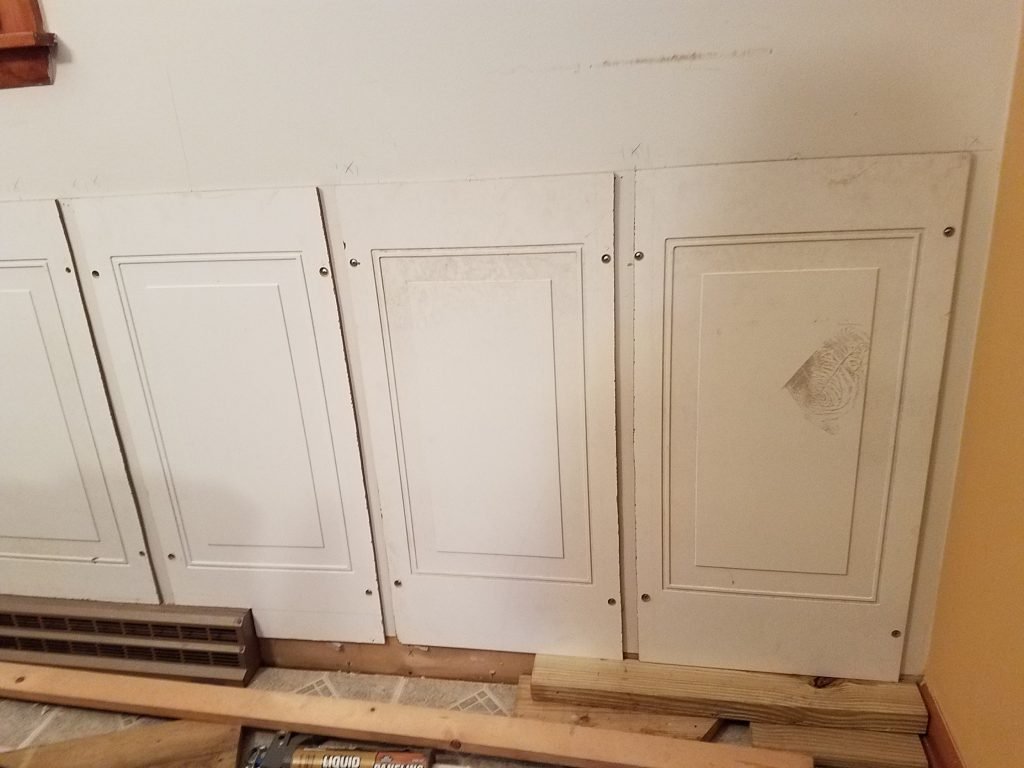
This spacing came out to be roughly an inch and a half of space between each panel. Once we had the spacing figured out, the panels were screwed into place. The screws were counter-sunk into the panels and positioned so that they would be behind the vertical wood molding.
How to Install Wainscoting When You Have a Window
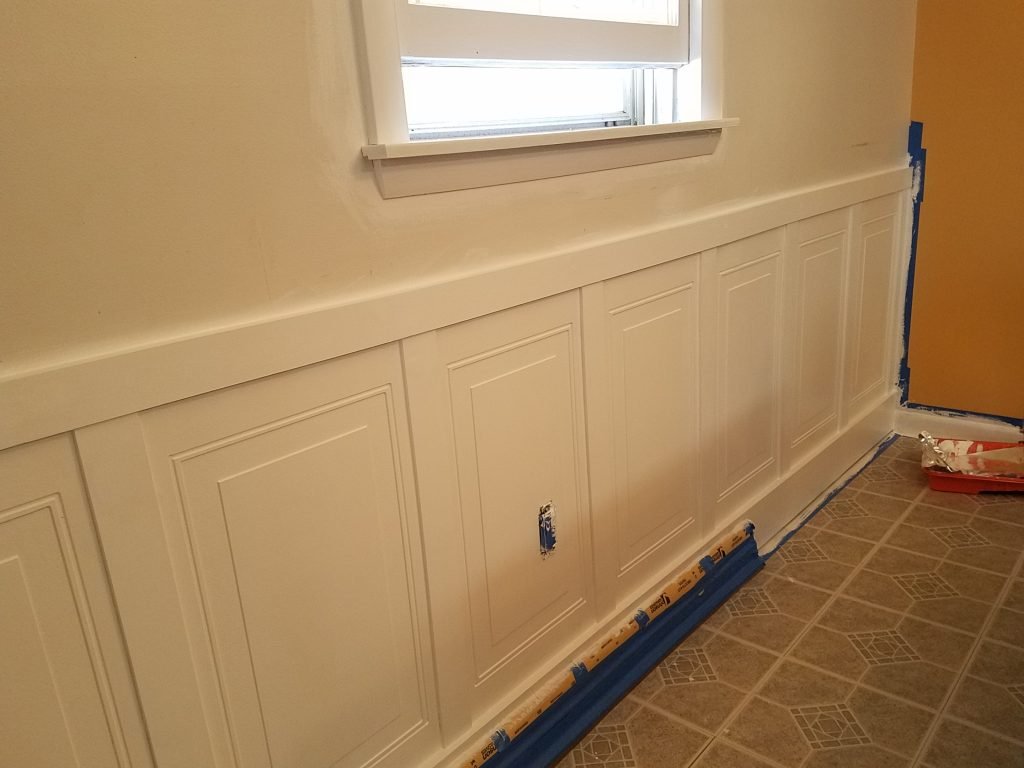
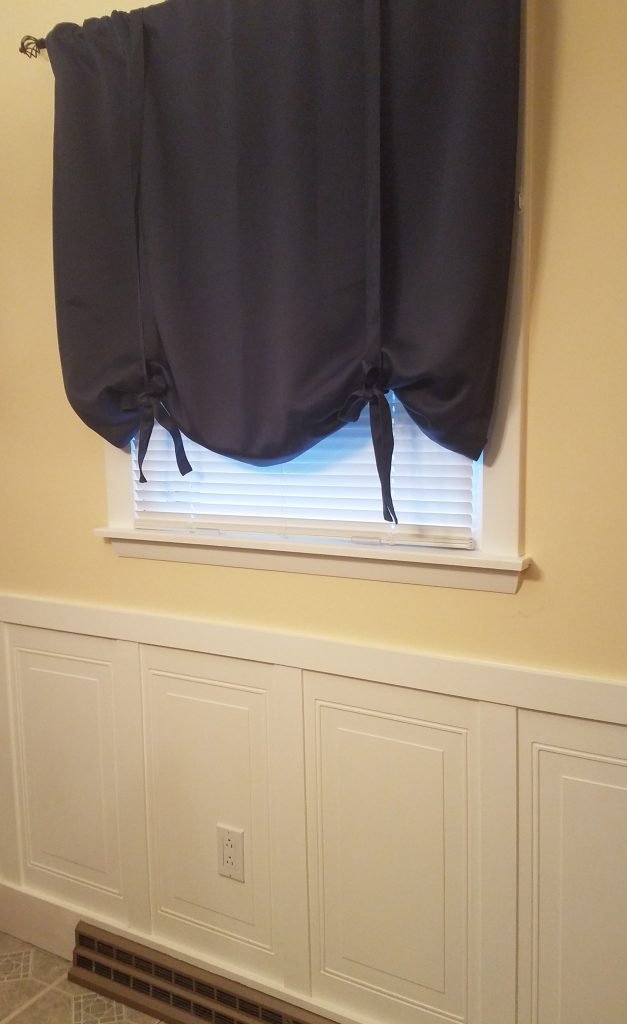
For our Wainscoting project, we had to consider the window in the center of the wall. If we wanted to wrap the window it would require removing the window molding and lots more measuring and cuts. So instead we opted to keep the Wainscoting below the window. Still, we needed to create symmetry. By penciling out the initial wall measurements we figured out that 2 panels aligned almost directly under the window.
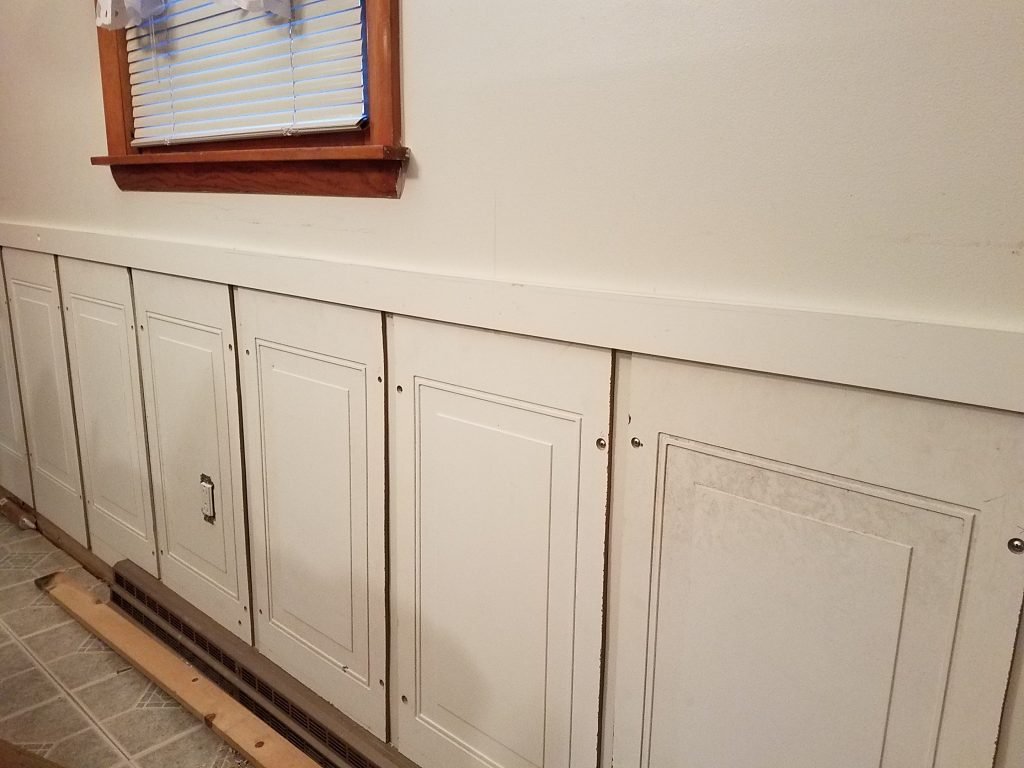
You can see in the photo how the panels almost line up under the window, but when we put the dining table back into place we don’t even notice it. If we wanted it perfectly centered we would have had to start dead-center under the window and cut the end panels in the corners. But since this is a short wall, it looks better and wider with full panels across it without cutting corners.
How to Fit Wainscoting And Molding Around Air Ducts
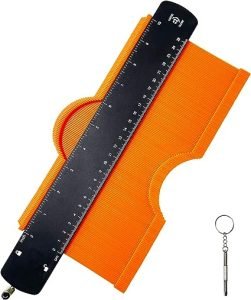
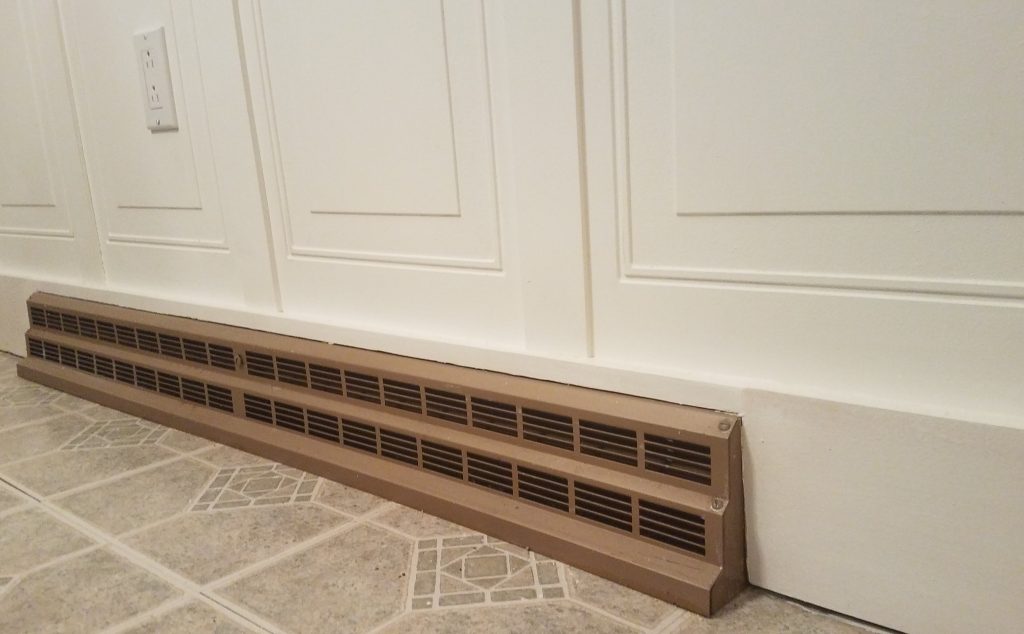
For this project, we had to think about how to fit the Wainscoting around the air duct. We needed to notch out the panels that intersected with the vent, and for this, we used a contour measuring gauge, as shown below. This tool is ideal for finding the exact shape of any notch you need to cut out.
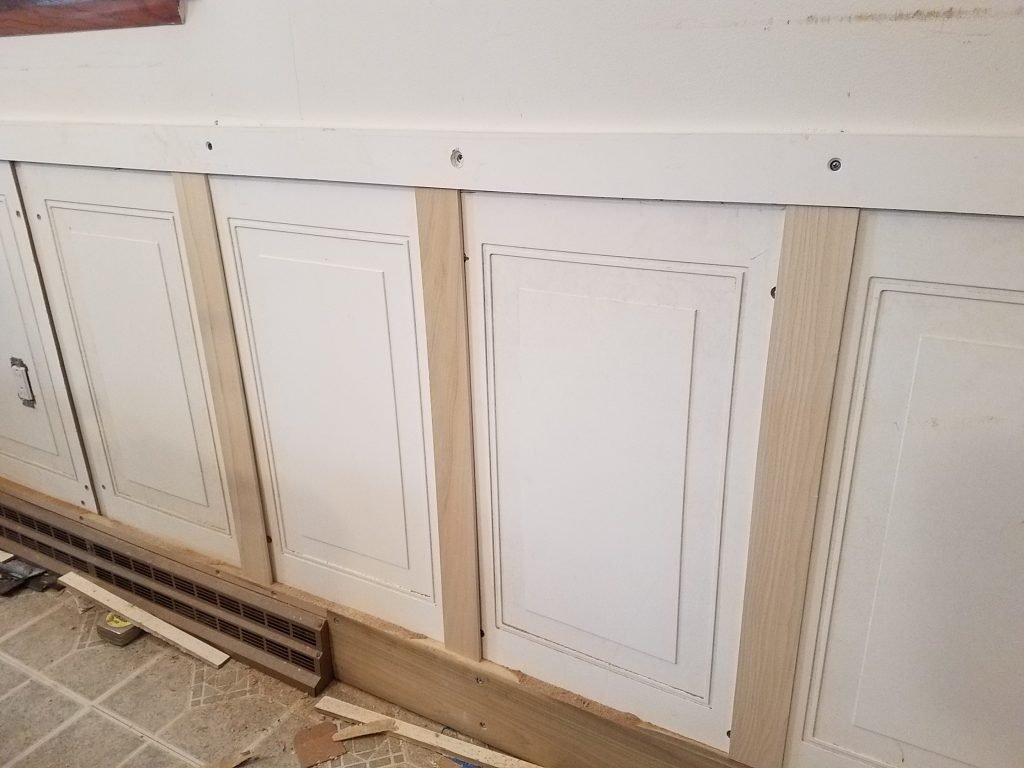
Then for the floor molding, we used two 5-inch wide boards on either side of the vent and added a half-inch piece of wood on top of the vent to box it out. We were fortunate that this did not require any custom cuts and the wood boxed it out perfectly.
Materials and Cost of Wainscoting Project
For this project, we had all the tools on hand, so we just needed to purchase materials, which came in at $120.00 The time it took to complete this project was two days over one weekend.
MATERIALS
- 3 – Wainscoting 4-foot panels
- 1 – 1-inch 3 x 12′ board for top rail
- 1 – 1-inch 5 x 12′ board for baseboard
- 1 – Gallon Behr white semi-gloss interior paint
- Screws
- Finishing nails
- White Cauk
- Wood putty
- Sandpaper
TOOLS
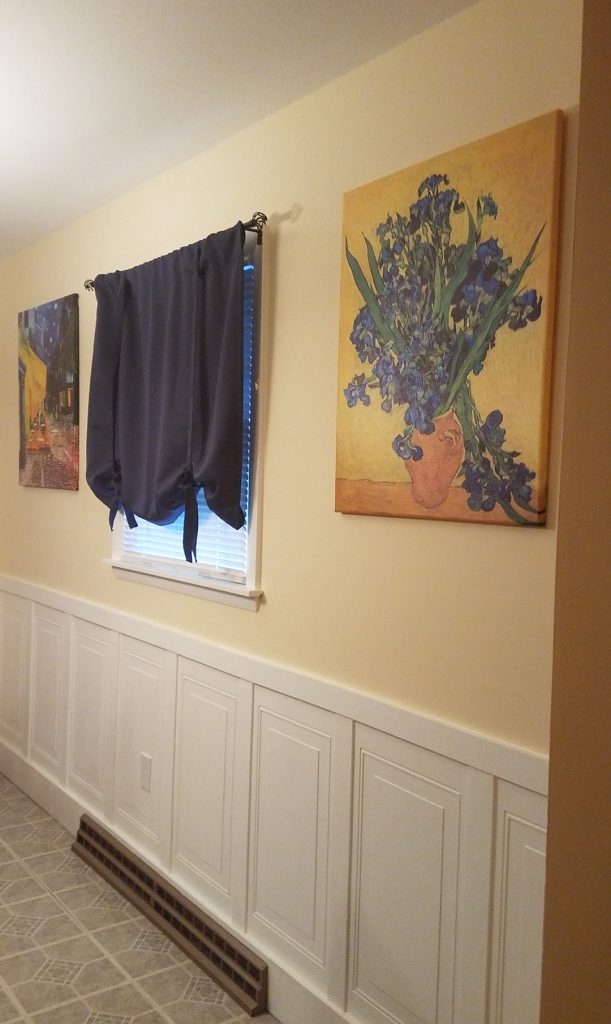
Once we completed our Wainscoting wall it really helped define this space as the dining area of our kitchen. We painted the Wainscoting wall a light yellow and all of the trim in semi-gloss white. Next, I shopped for some art prints for the wall and a new curtain.
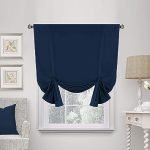
If you look at the first photo in this post you’ll see that the adjoining wall of the dining area is a gold/orange color. So I looked for art that incorporated that color and found these Van Gough prints and curtain on Amazon. The 2 prints and curtain cost a little over $140.00 which is more than the Wainscoting project, but truly completes the look of your dining area.
How to fit Wainscoting on any length wall and have your Wainscoting installation look professional does take a bit of time and planning. But it’s a very affordable home improvement project that will improve the look of your home and add value to it.
